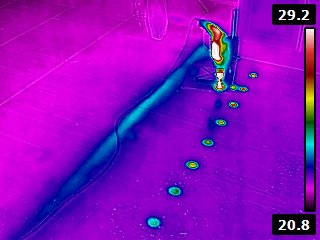
As a complement to the ad-hoc metal detector I described in the previous blog post, I wanted to have a look at the heat from the pipes of the hydronic heating system in the floors using an infra red camera before I started to drive screws through the floors. As luck would have it, I was able to borrow a thermal camera from a friend. The camera was a Flir E4 upgraded with a firmware hack to get a resolution of 320×240 pixles.
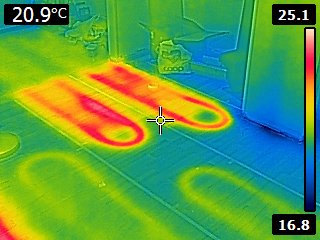
I did not know how well I would be able to see the pipes in the floor using this method, but as it turns out, the camera was very good at showing how the pipes were laid out. The picture below shows a typical example.
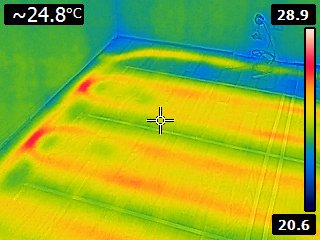
Before taking the picture, I had placed tape between the metal sheets (i.e. on top of the beams) in the floor, using the metal detector to guide me. Since the heat spreading metal sheets do not extend all the way to the walls and I knew the pipes would turn between the end of the sheets and the walls, I ended the tape strips where the sheets ended. The thermal image confirms that the pipes are straight where there is metal (and tape) and that they are bent and cross the beams where expected near the wall. The IR camera combines the picture from the IR sensor with contours derived from a picture from a visible-light camera and this helps identify the tape and other objects.
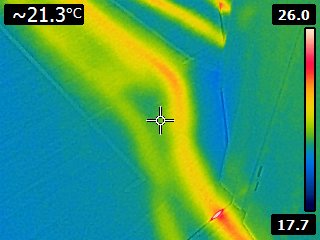
The picture below shows how a pipe crosses a beam when going into another room.
Here is a picture showing pipes along the walls and on both sides of an opening between two rooms.
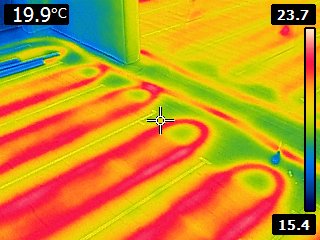
The hydronic heating system is made up of several separate sections with their own thermostats. The picture below shows pipes from different sections having different temperatures.
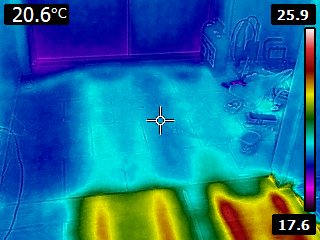
The thermal contrast turned out to be very good on the wooden floor, but under the ceramic tiles at the entrance, the pipes were much harder to discern as shown below (not that this was of interest to me since it was the wooden floor that needed fixing). The reason for the difference is not entirely clear to me. Maybe the tiles conduct heat much better and spread the heat in a much more diffuse manner? Maybe it takes longer to heat up the tiles? Maybe the thermal coupling from the pipes to the tiles is lousy?
The thermal imaging also yielded some unexpected findings. A large part of one of the rooms lacked pipes, although the metal detector clearly showed that there were sheets of metal in the floor. This seems like a clear sign of cheating on behalf of the company that built the house, “Bygg OM AB“, in Linköping. They are probably also the ones who are responsible for the creaking floors.
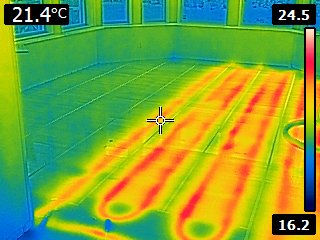
In addition to the large area of missing pipes in one of the rooms, a smaller area with a metal sheet but without any pipes was found in a large closet at the entrance.
Random images
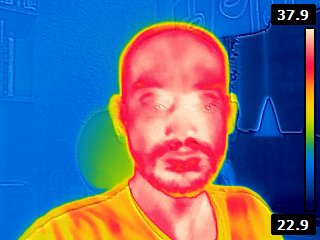
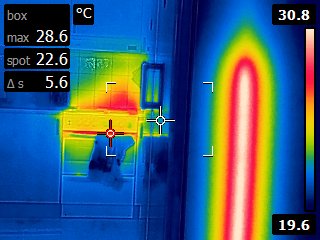
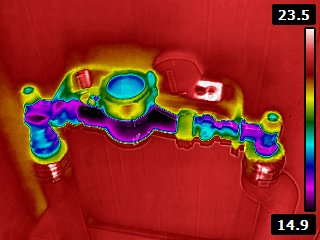
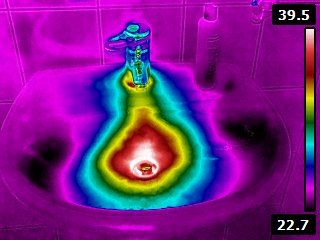
I could not resist playing a little with the camera and here is a selection of some random pictures I took:

