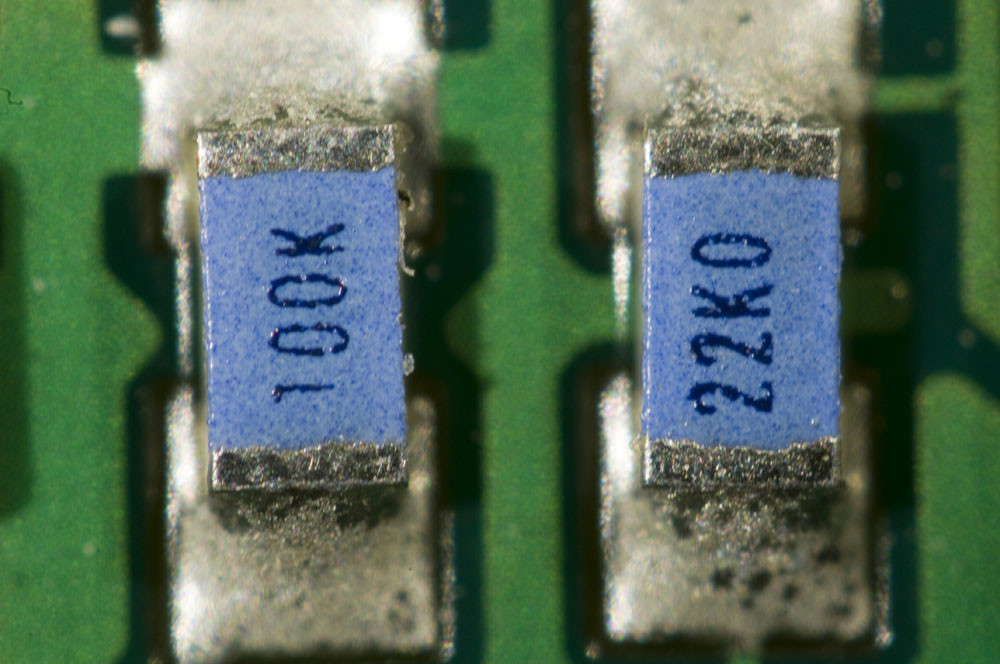
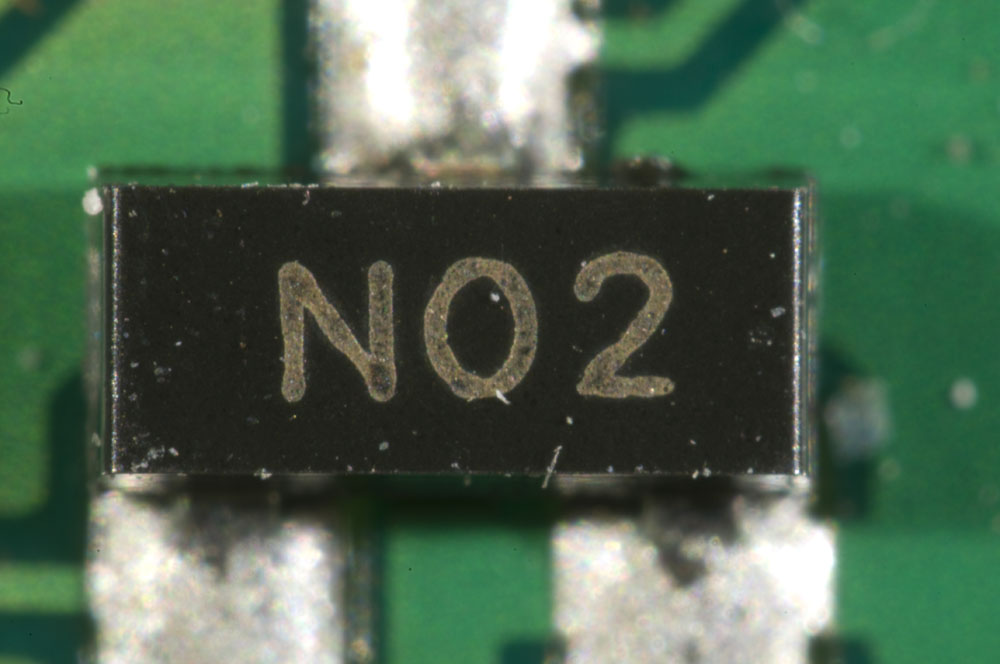
Sometimes I want to take closeup photos of printed circuit boards to e.g. document broken or incorrectly assembled components. Given the small size of many components (like 0402 or even 0201), a high degree of magnification is often required. I have a 150 mm Sigma macro lens that can do 1:1 magnification from subject to detector, but this is not always good enough, so I was looking for another solution, preferably going up to a magnification of about 6:1 so that a 4 mm subject would fill up the view of my Nikon D300. Also, I did not want to spend too much on new equipment as this is something I do not do very often.
It turns out that there are a number of ways to make existing lenses more suited for macro photography, namely:
- extension tubes (reduces minimum focus distance)
- macro bellows (essentially long and adjustable extension tubes)
- close-up lenses to put on the front of existing non-macro lenses
- reversing rings to mount lenses backwards
- macro couplers to mount one lens backwards in front of another
I did some quick calculations (using information from this page) and figured out that extension tubes or bellows would not give me much of additional magnification. They need to be very long to have much of an effect on long lenses and with shorter lenses the focus distance for large magnification becomes very small.
According to a formula on https://en.wikipedia.org/wiki/Close-up_filter, a close-up lens (or close-up filter as it is also called) needs to have a power of 20 diopters to give a 6:1 magnification on my 70-300 mm lens and 33 diopters on my 150 mm macro lens. The problem is that such strong close-up lenses seem to be rare and if they exist they are probably not very sharp.
To get magnification from mounting a single lens in reverse, the focal length needs to be short. From a 50 mm lens, the expected magnification is probably only about 1:1, so this did also not seem like a very good option.
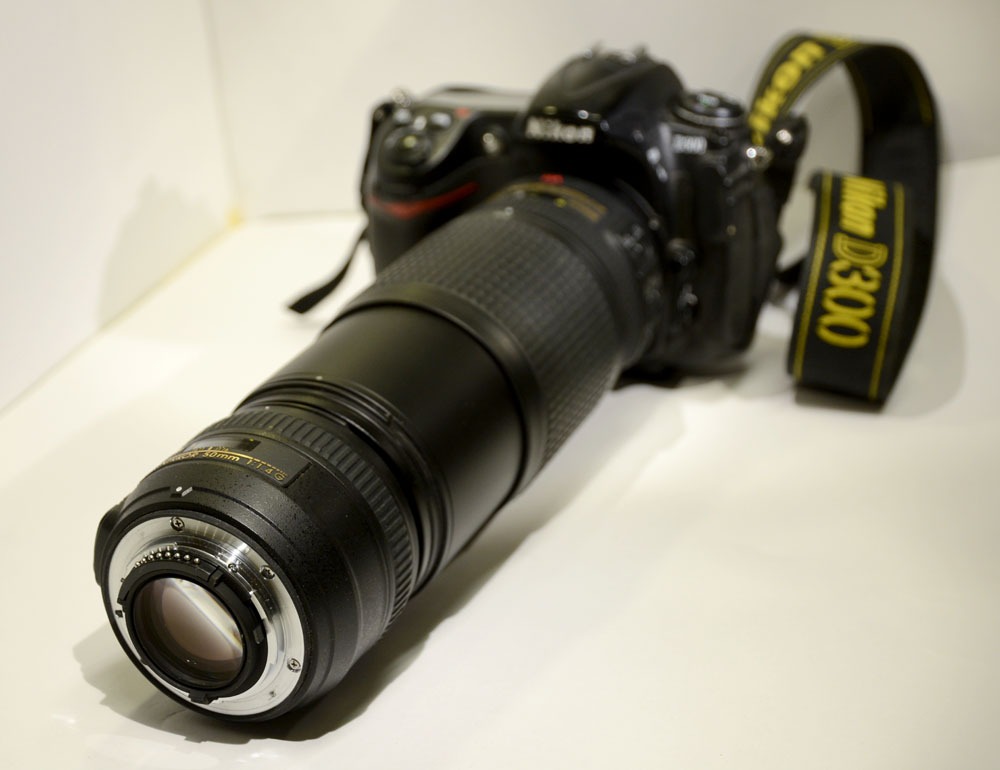
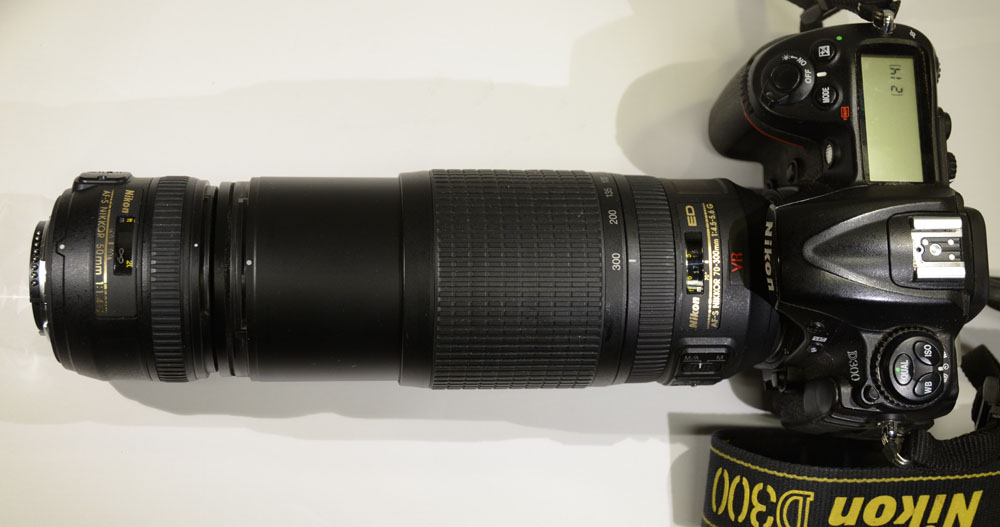
The solution I opted for was instead to use a macro coupler to mount my 50 mm f/1.4 lens backwards in front of my 70-300 mm zoom. A 50 mm lens has a power measured in diopters of 1/(0.050 m) = 20 diopters, so it will act as a close-up lens that powerful, giving a magnification at the 300 mm setting of about (300/50):1 or 6:1.
Since the 50 mm lens has a 58 mm thread and the zoom has a 67 mm thread, I needed a step-up ring from 58 to 67 mm and a 67-67 mm macro coupler ring. I found inexpensive ones at a local Internet shop, http://kaffebrus.com/step-up-ringar-121.html and http://kaffebrus.com/adapterring-koppling-122.html. Total cost was 147 kr or about $18.
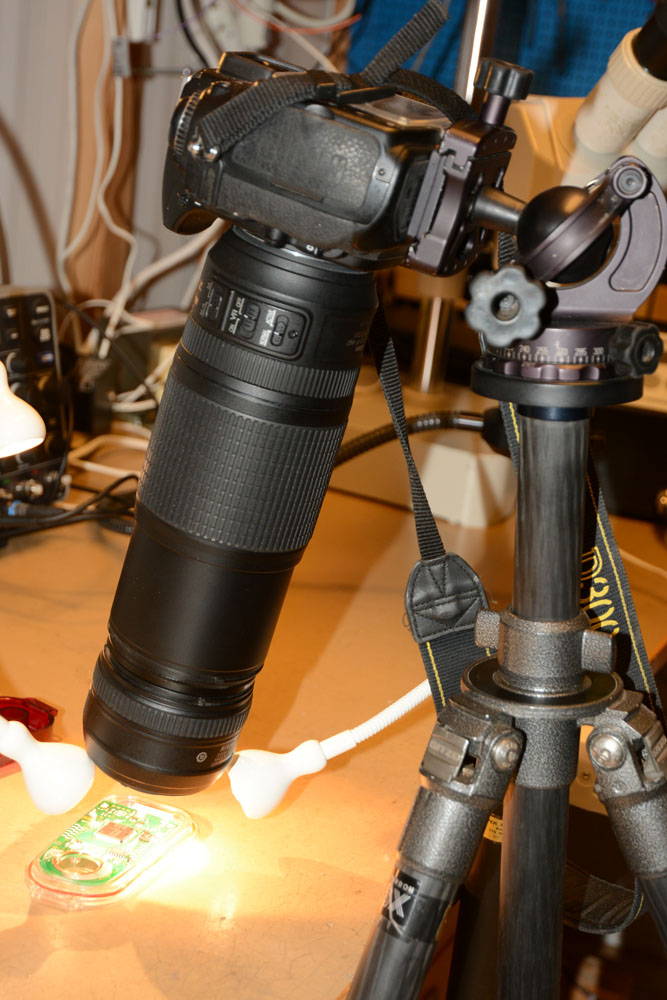
This is what it looked like when I used the rings to mount the short lens in backwards in front of the zoom lens on the camera:
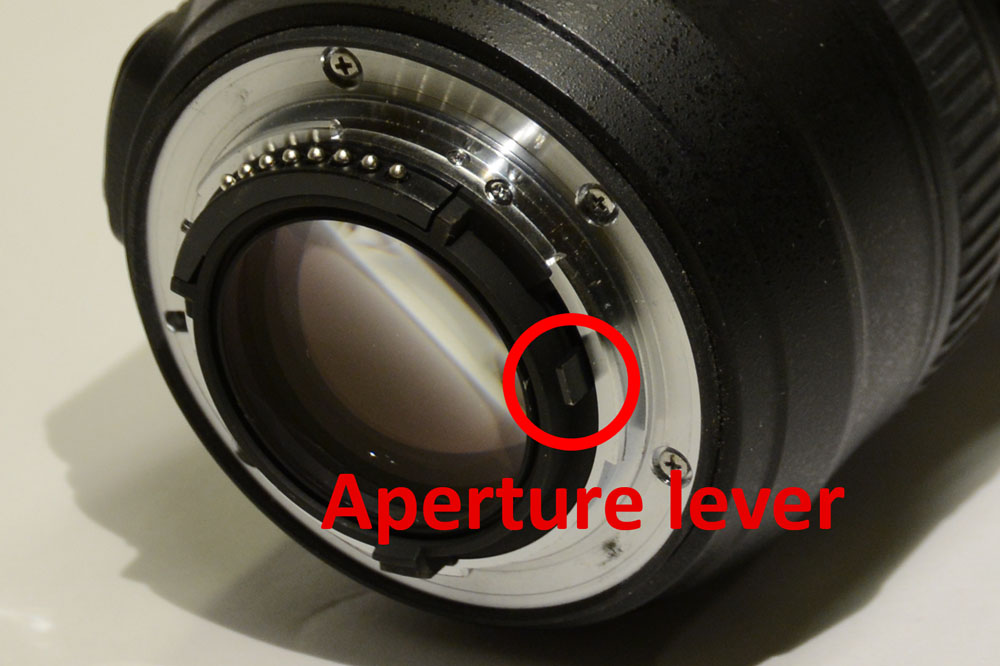
One thing that immediately becomes apparent when looking into the viewfinder is how dark it is. This is due to the fact that the 50 mm lens goes to minimum aperture when it is not connected to a camera, so it lets in very little light. There is no aperture ring on this lens, but there is a small lever in the mount that one can manually pull to increase the aperture and I found that it is possible to put a piece of tape on the lever to fix it in a desired position. Small aperture is good to get maximum depth of field, but it can be hard to see the subject unless the lighting is very bright, so taping the lever to maximum aperture while composing the scene and then removing the tape before taking the shot might be a good idea.
The aperture of the zoom lens seems to not be very critical, but it should be open enough to not cause vignetting. Also, zooming out far away from 300 mm causes vignetting, so the setup is mostly useful at or close to 300 mm.
It is of course necessary to use a tripod and in order to get as sharp photos as possible, one needs to take every reasonable step to reduce vibrations, like using a remote shutter release cord and the mirror-up mode so that the mirror does not cause camera shake.
A future improvement would be to build a focusing rail and apply focus stacking to get a greater depth of field. Building a stepper motor controlled focusing rail could be a fun project.
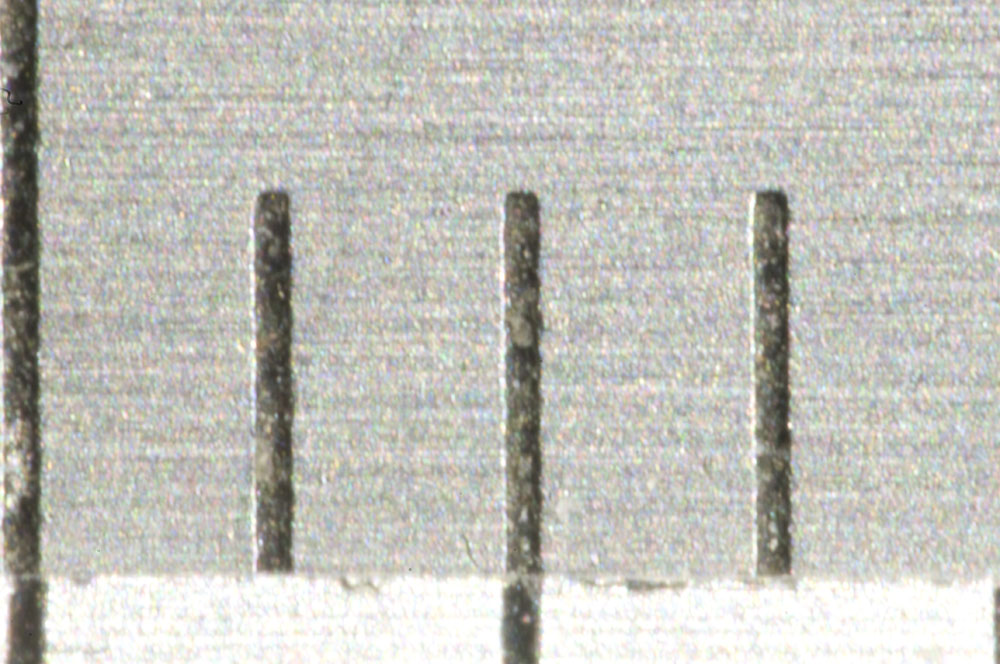
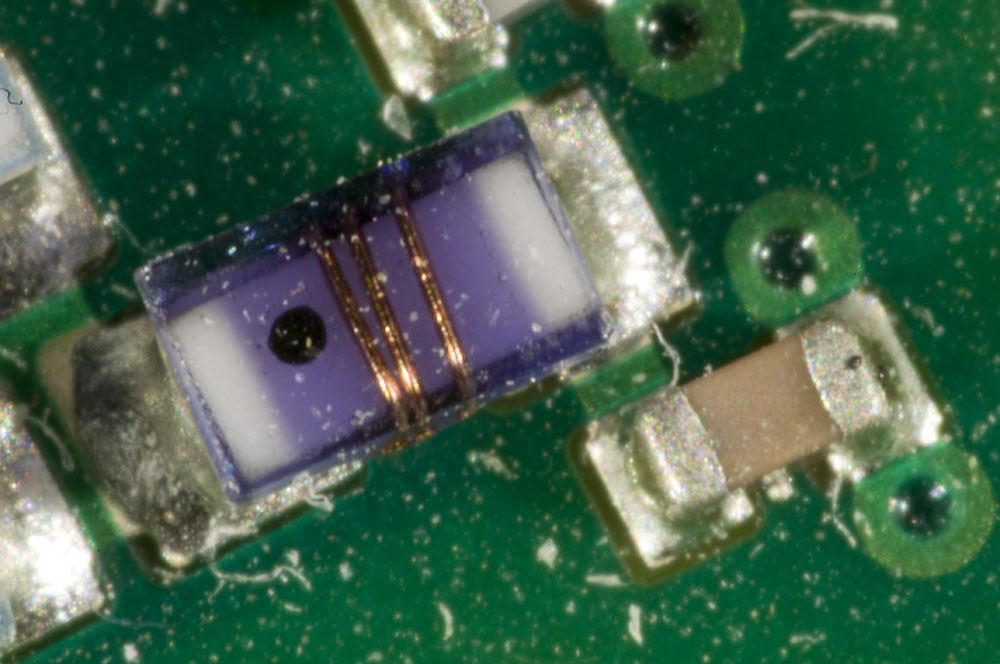
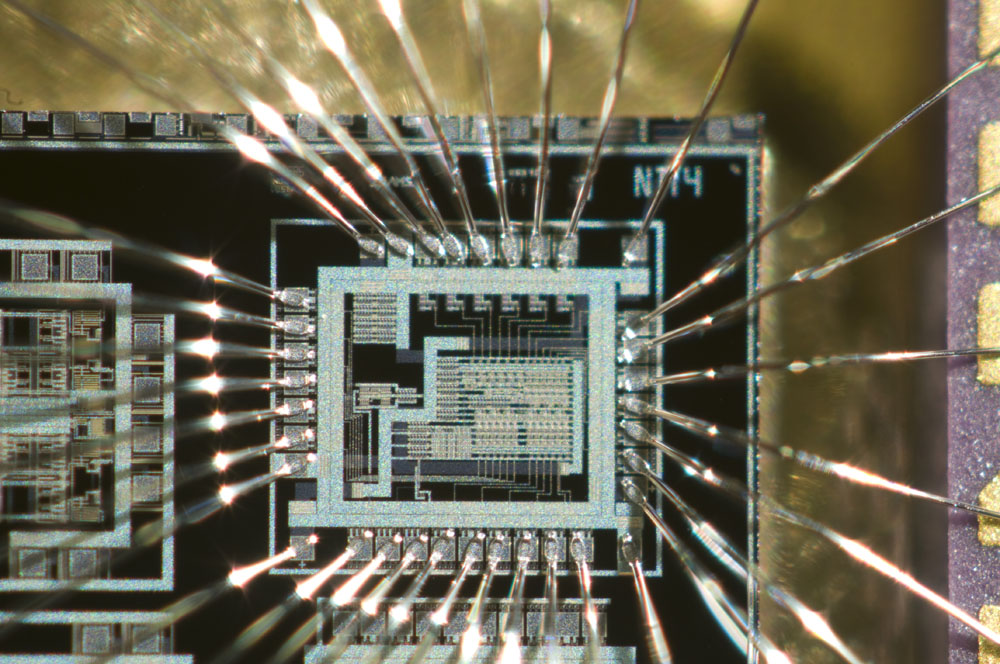
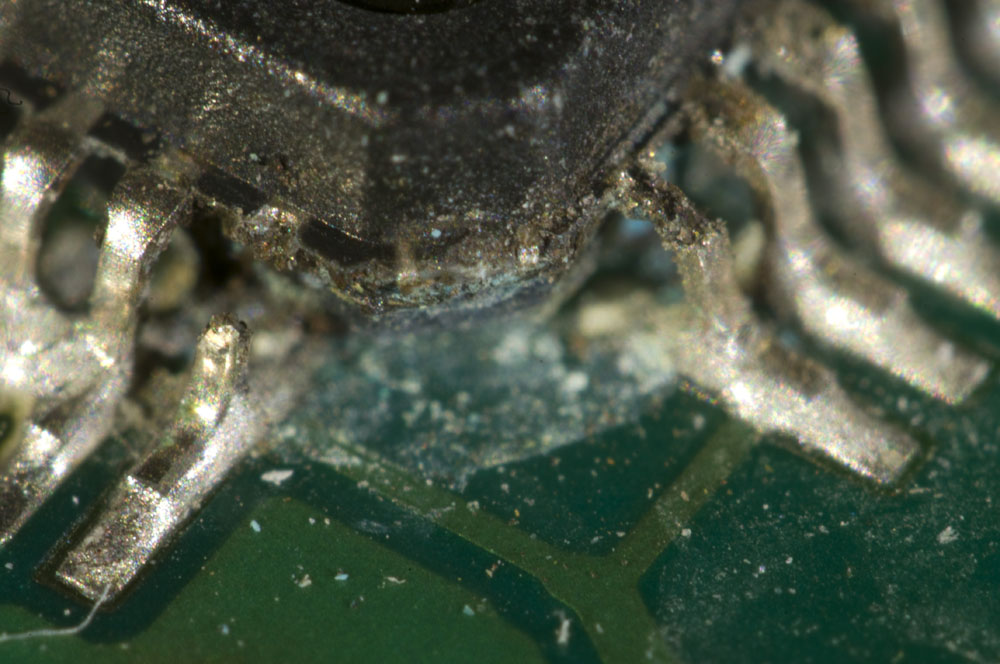
Below are some test photos I have taken with the setup.
