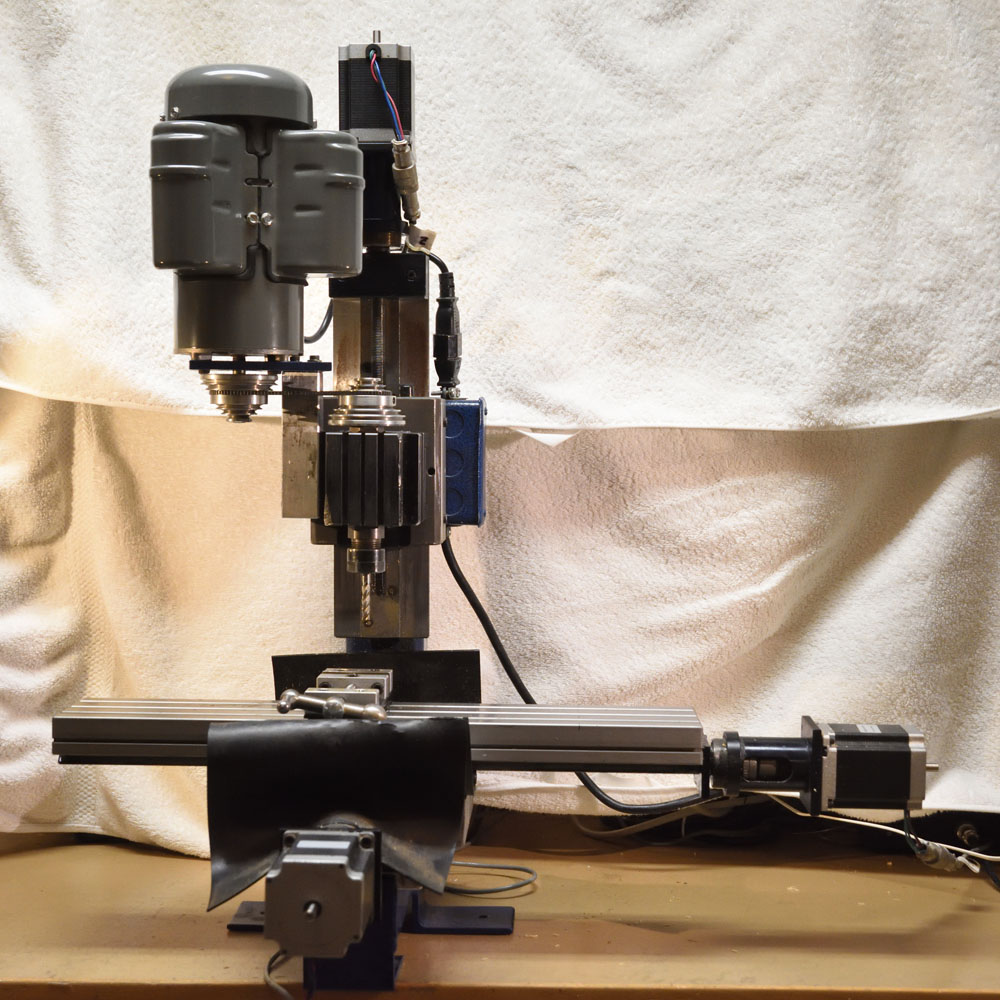
The spindle on my Taig CNC mill was getting uncomfortably hot after a few minutes of milling; especially at higher RPMs. It ran smoothly and without any play, but with noticeable friction, so I decided to try to change the ball bearings.
Ball Bearing Selection
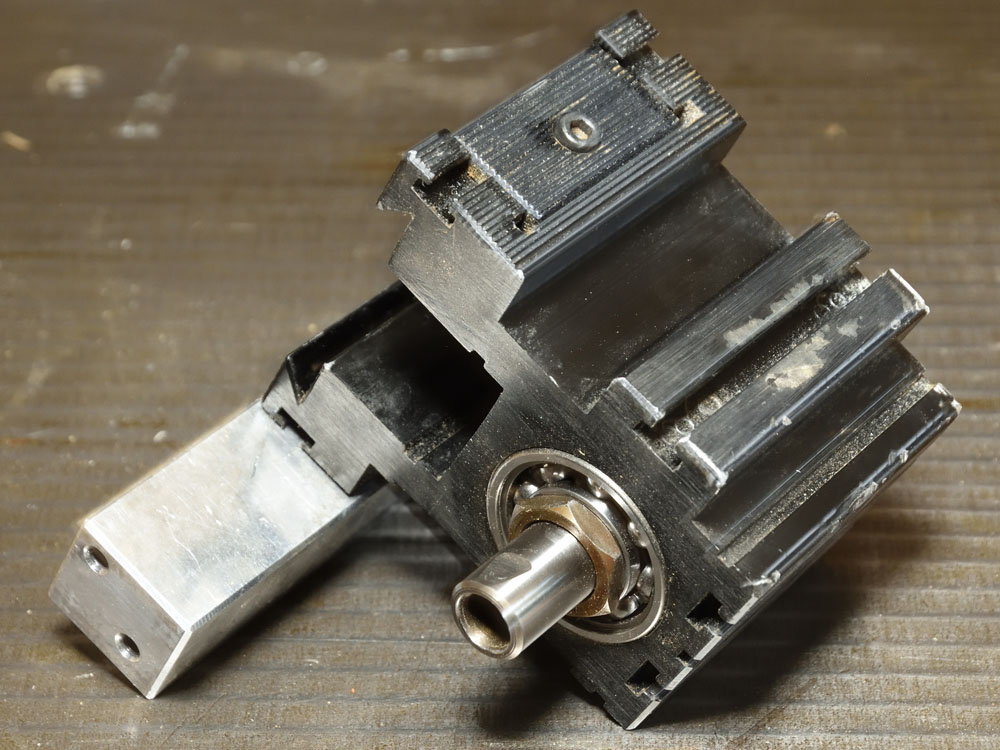
The bearings have the standard dimensions 17x40x12 mm (inner diameter x outer diameter x width) and this apparently is designated with the number 6203 in the ball bearing world.
I am not a mechanical engineer and have little knowledge of the intricacies of ball bearings and it was also surprisingly hard to find a lot of good information online on how to select the proper bearings for the application. I wanted high quality to avoid having to change them soon again and I thought that dust covers would be a good idea to minimize the risk of chips getting into particularly the lower bearing. After some browsing of an online catalog (at kullagret.com, although there are countless others), I realized that there were plenty of options, even after selecting a particular well respected brand. It was clear that deep groove bearings were required since they can handle axial loads as well as radial ones. Since rubber seals were slightly more expensive than metal shields, I thought they were superior and bought two SKF 6203-2RS bearings. This unfortunately turned out to be less than ideal.
After replacing the bearings (the process I used is described below), it turned out that the spindle still rotated with quite a bit of friction. The rubber sealed bearings themselves did indeed have significant friction, which was concerning even before putting them into the spindle, but it became even worse after the assembly was done. A quick test run revealed that the spindle got at least as hot as before and that the motor was almost not powerful enough to even run the unloaded spindle at full speed at the highest gear.
I think part of the reason for the high friction was the rubber seals, but since it got even worse after assembly, I think there is also another part of it. It must be either that the bearings are put under radial stress in the spindle, compressing them tighter and thus causing them to run with higher friction, and/or that there is ever so little misalignment between the two bearings.
So, back to the bearing catalog. This time I tried to address both of the reasons for the high friction. I opted for bearings with a higher play, designated by the option C3. I also selected an unshielded bearing for the top one (6203/C3) – which will hopefully not be subjected to chips or other debris – and metal shields for the lower bearing (6203-2Z/C3). This worked much better and now the spindle runs smoothly with very little friction and no discernible play.
Below is a description of how I replaced the bearings the second time.
Disassembly
I first removed the spindle motor. It is fastened only by two screws holding its mounting plate to the rest of the spindle.
The spindle is secured to the Z-axis assembly by a single set screw holding on to a dove tail, so this was easy to remove.
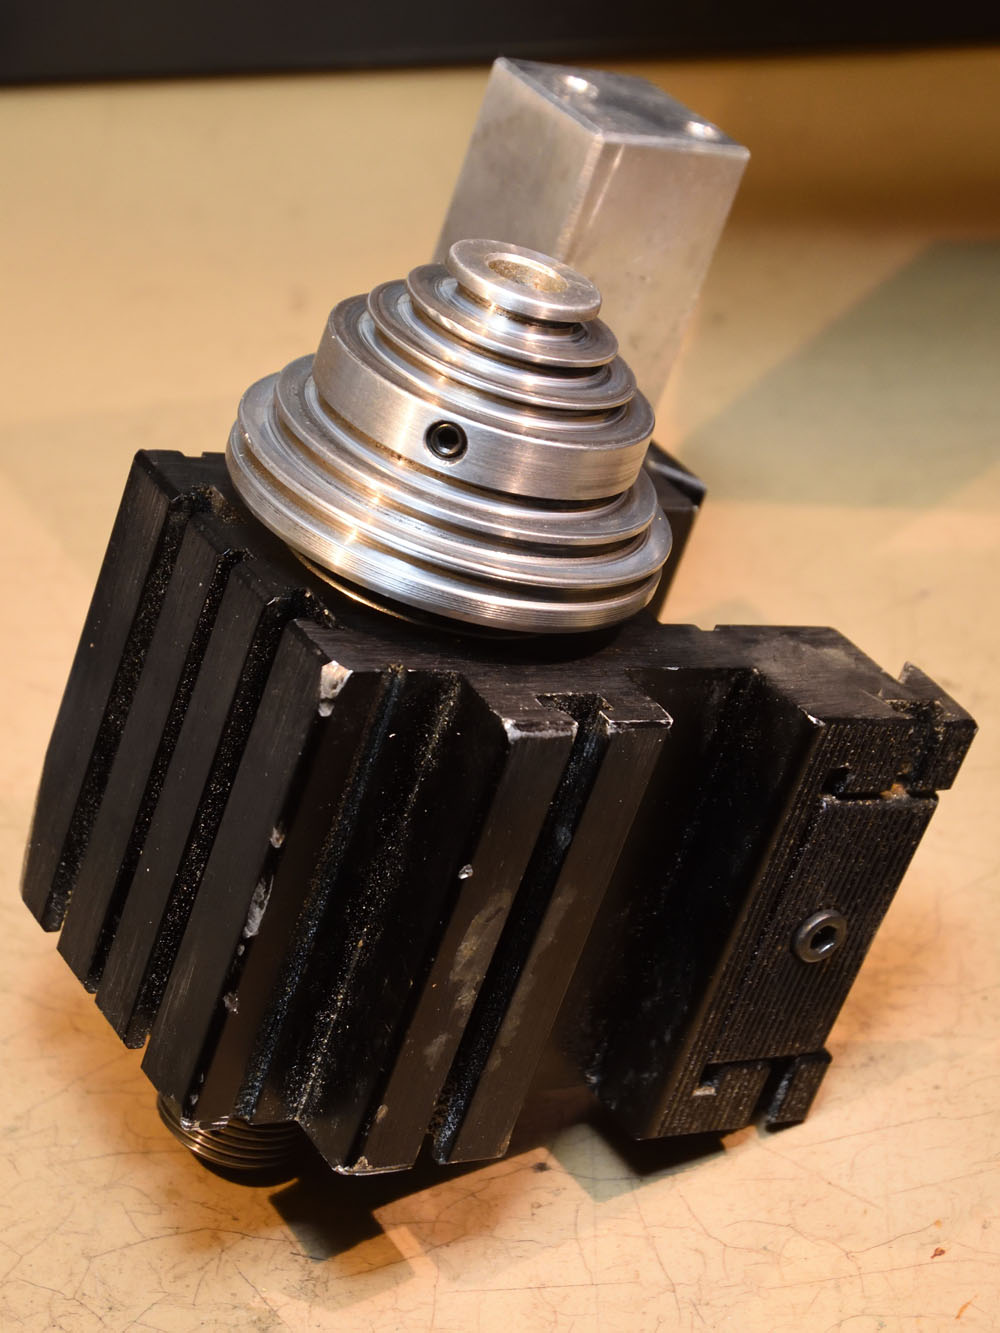
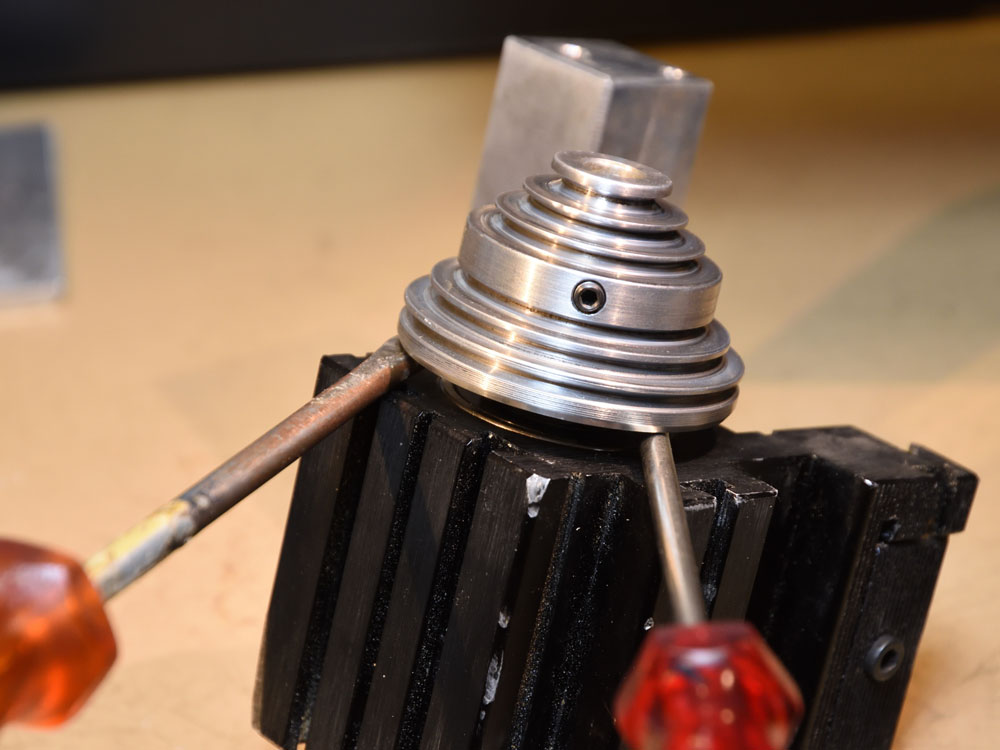
The pulley is secured by two set screws. I released them and gently applied some force to pull it off from the shaft. There probably are some good special tools for this, but I used two screwdrivers as levers.
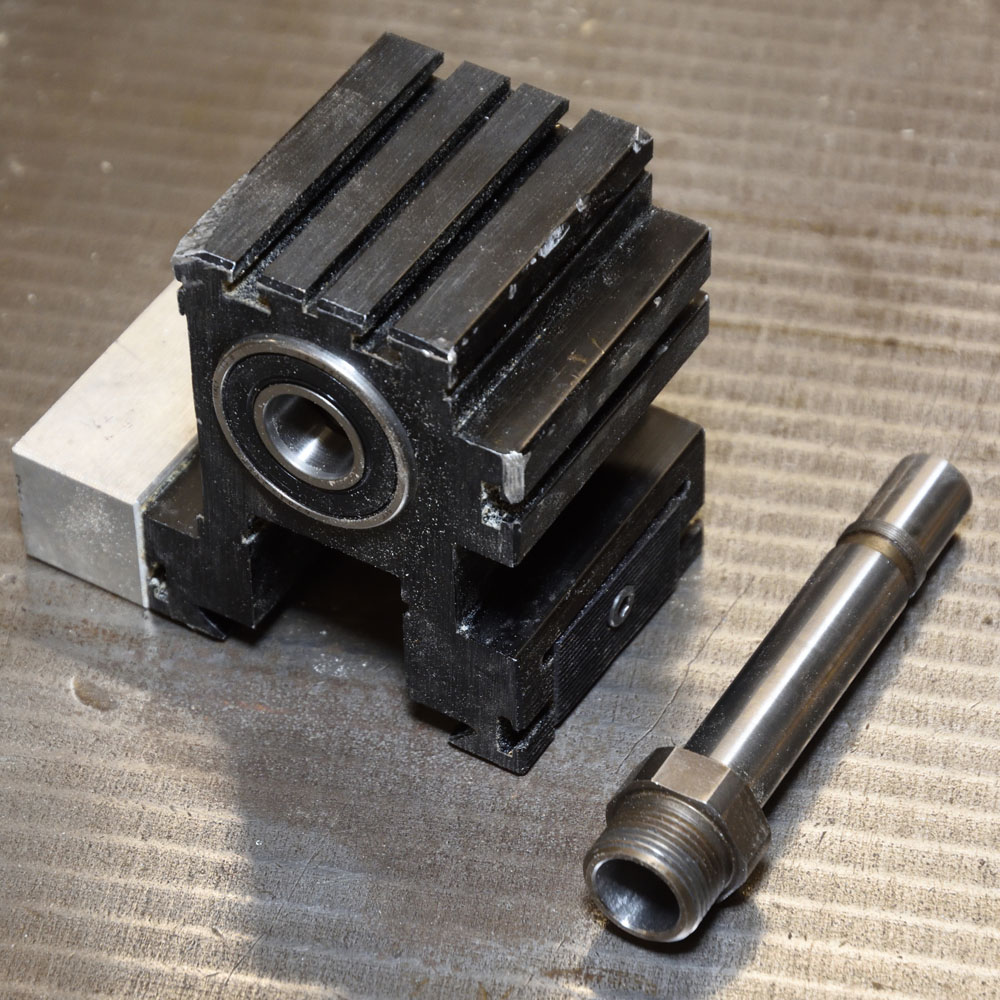
Under the pulley, there is a nut (with a very fine thread) that needs to be removed. I held on to the shaft by one wrench on the lower side while using another to loosen the nut.

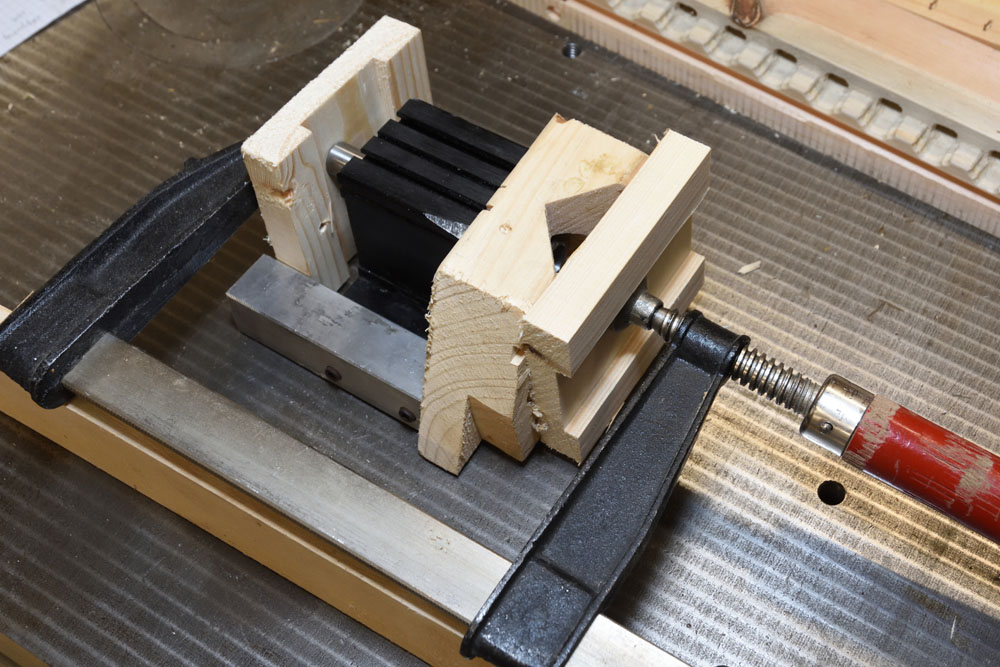
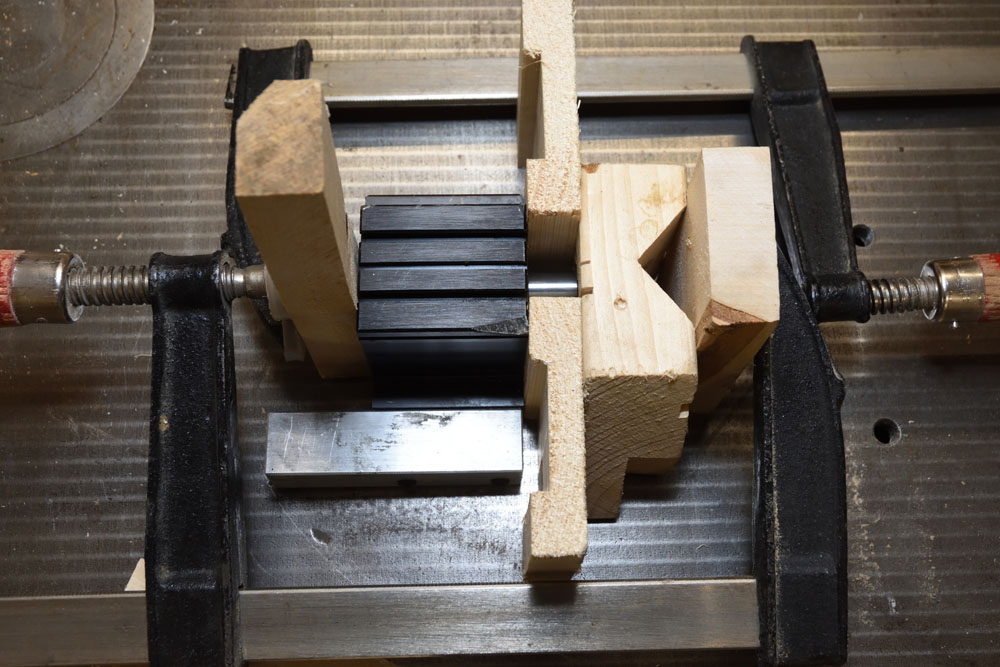
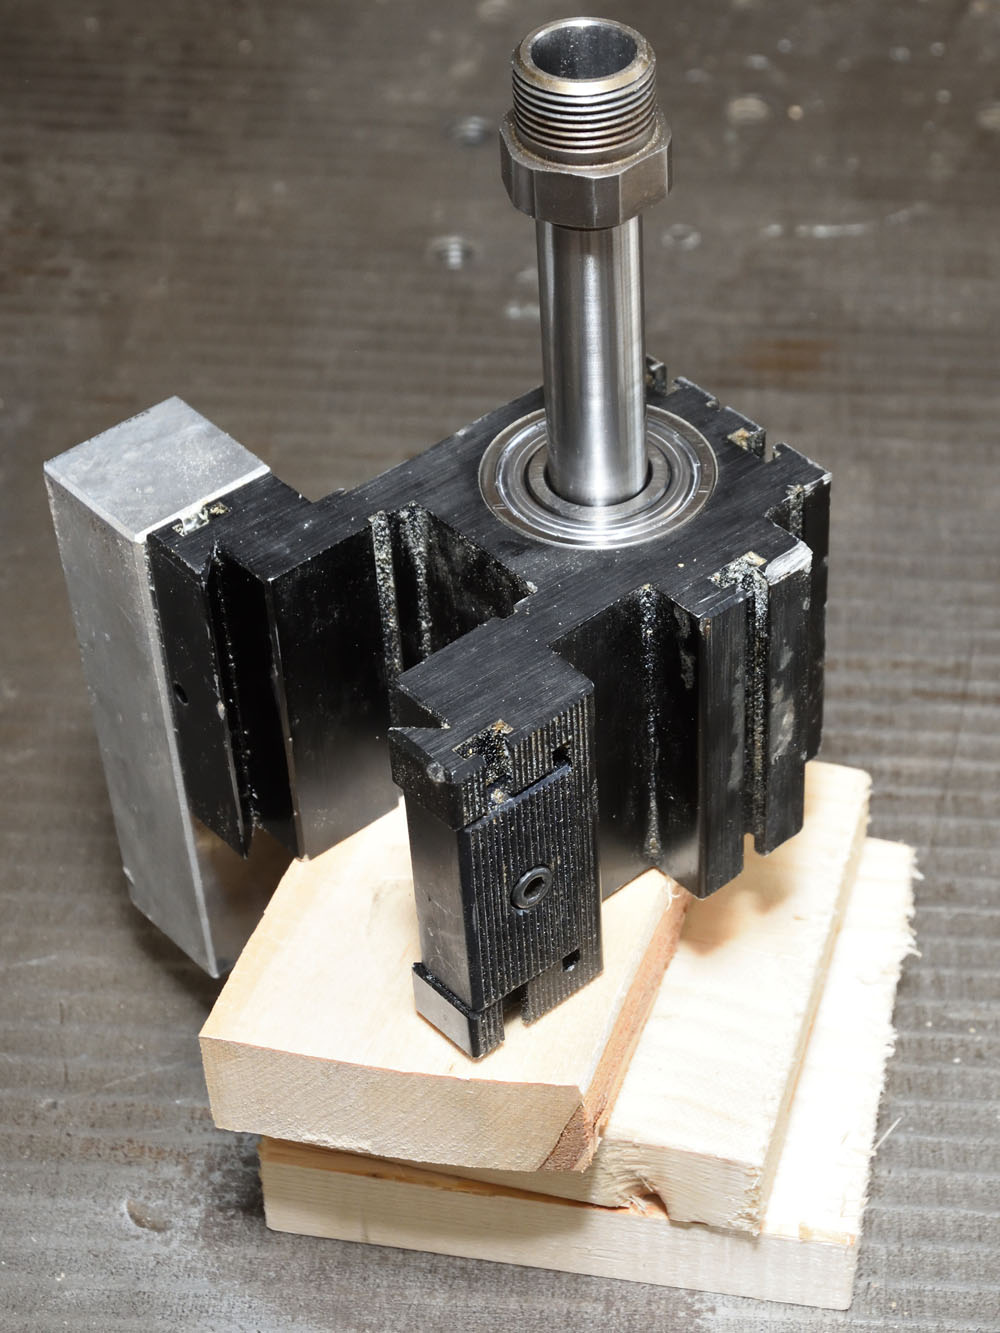
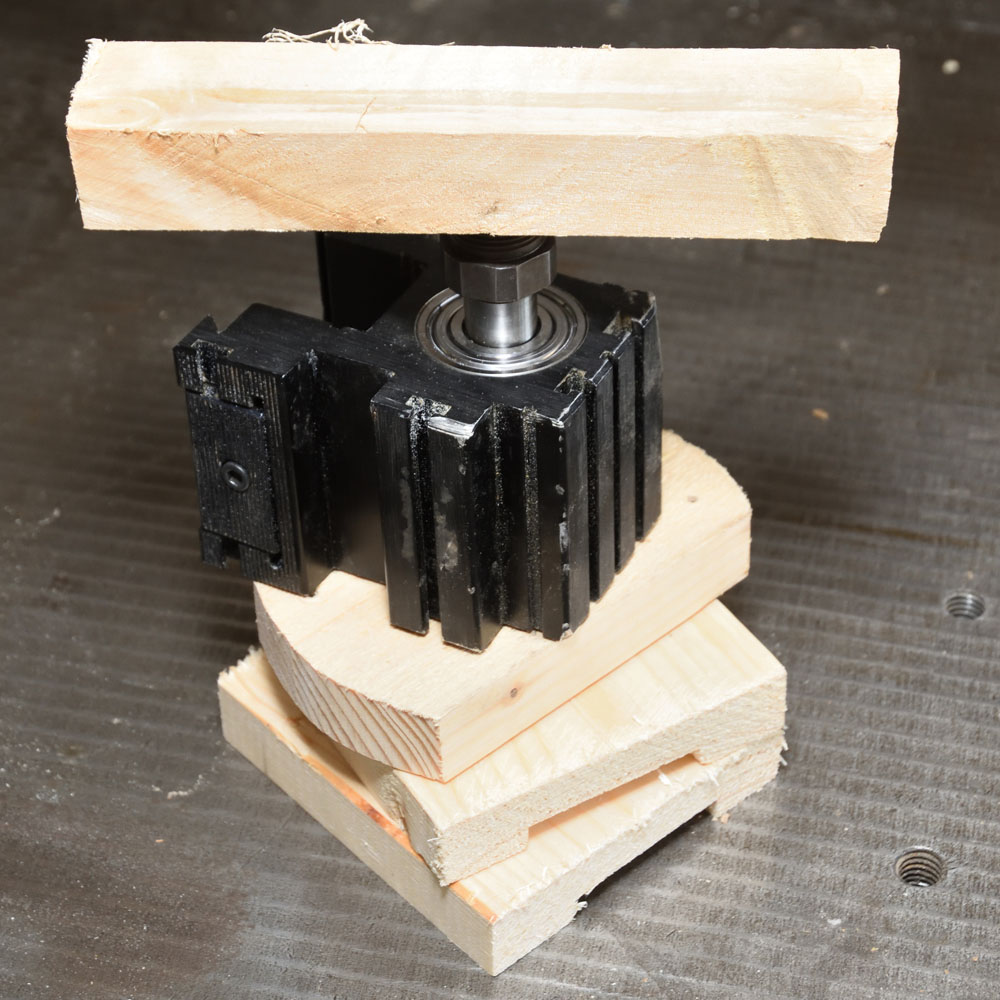
Now the shaft had to be pushed out of the bearings. This takes a lot of force. Maybe there is some trick that I am not aware of. Using a mallet to hammer it out might be one option, but I initially tried to be more gentle by using clamps (more than one was required to two get enough force) together with wooden blocks to avoid damaging the shaft. If I had had a gigantic vise with a wide enough mouth, that would probably have been a better option.
Once the shaft was fully pushed into the top bearing, I resorted to hammering on a dowel at the end of it.

This was successful.
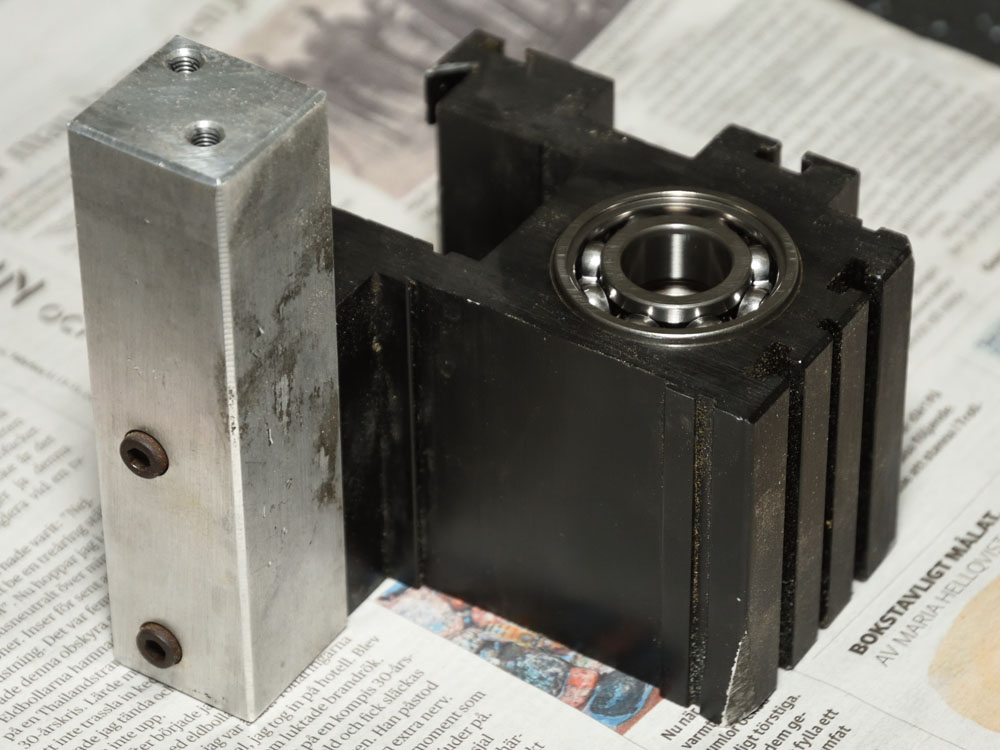
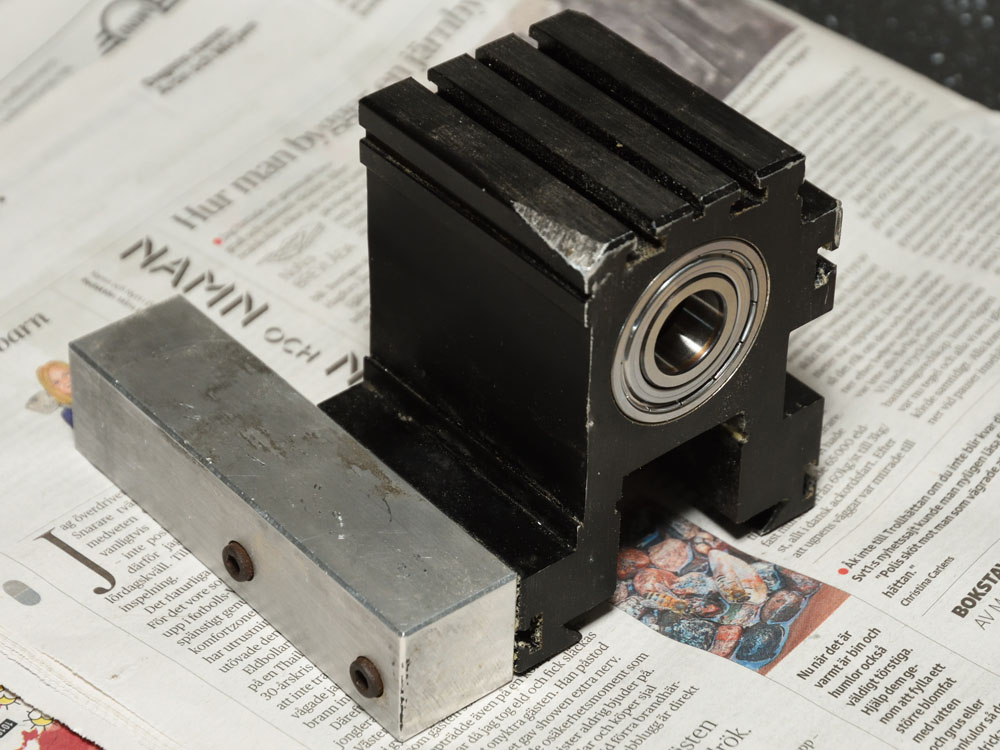
The next step was to remove the bearings. Here I came up with an (in my opinion) clever method. The housing is made of aluminum and the bearings are obviously made of steel. Aluminum expands a little more when it is heated than what steel does, so by heating the whole thing up by a few tens of degrees, it should be much easier to remove the bearings. So I set the kitchen oven to 60 C and let the spindle cook for an hour or so.
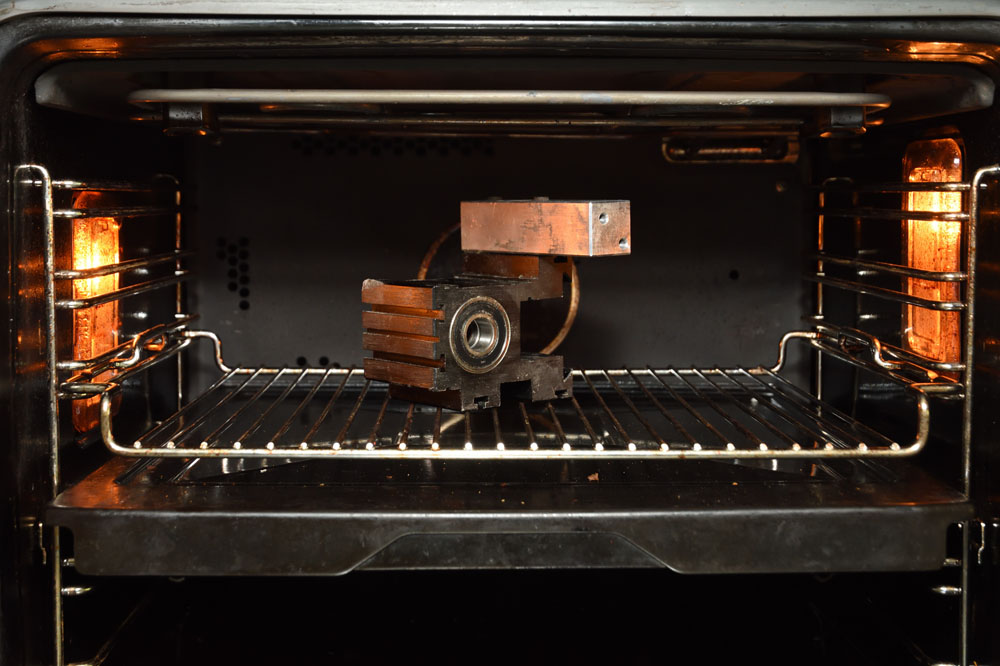
This was even more effective than I had thought. The bearings more or less fell out by themselves.
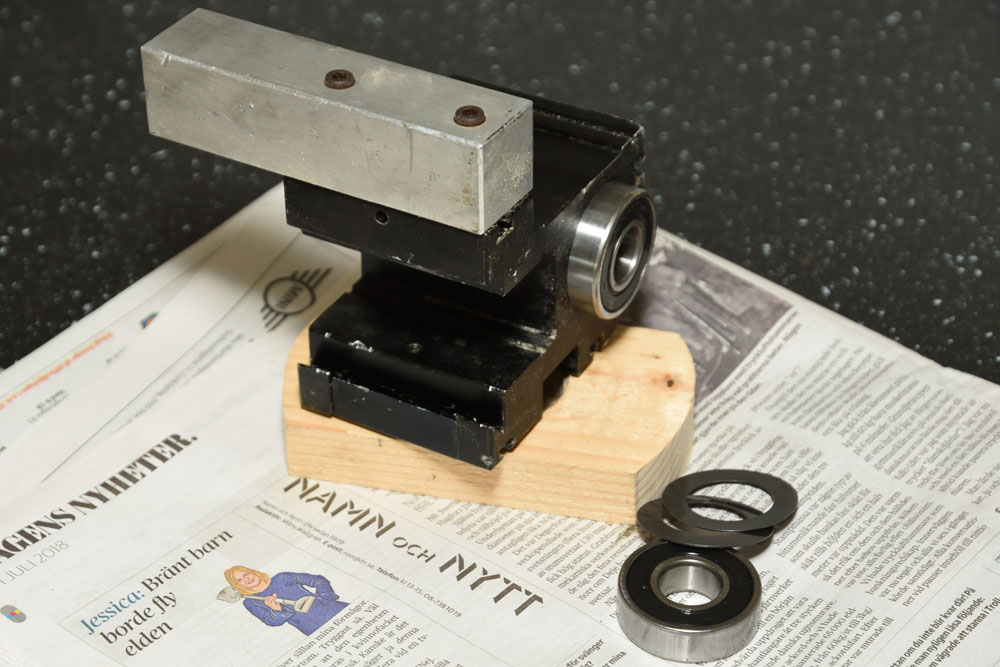
There were a few shims between the ends of the bearings and the spindle, probably to prevent the inner ring of the bearings to touch any part of the housing.
Re-assembly
Before the housing cooled down, I inserted the new bearings into it (together with the shims).
Inserting the shaft into the new bearings was a bit hard. I probably should have heated up the new bearings before attempting this. Instead I lubricated the shaft a little (not sure this helped) and used force in the form of a hammer to hammer it in. Maybe this could harm the bearings due to the high axial load, but fortunately the spindle ran fine afterwards, so perhaps it was no big deal. Next time I will probably heat the bearings (and perhaps even cool the shaft, although I am worried that might cause too much condensation and then rust) before trying to force it in.
After making sure the shaft turned smoothly with little friction and with no discernible play, I replaced the nut (not tightening it very hard as that increased friction), added the pulley and then put the whole thing back onto the mill.
So despite the unnecessary set of sealed bearings I bought and having to do it all twice, I am pretty happy with the bearing replacement. Now the mill runs fine without the spindle getting hot, even after long runs at maximum RPM.