Monthly Archives: March 2017

Improving the Depanelization Process

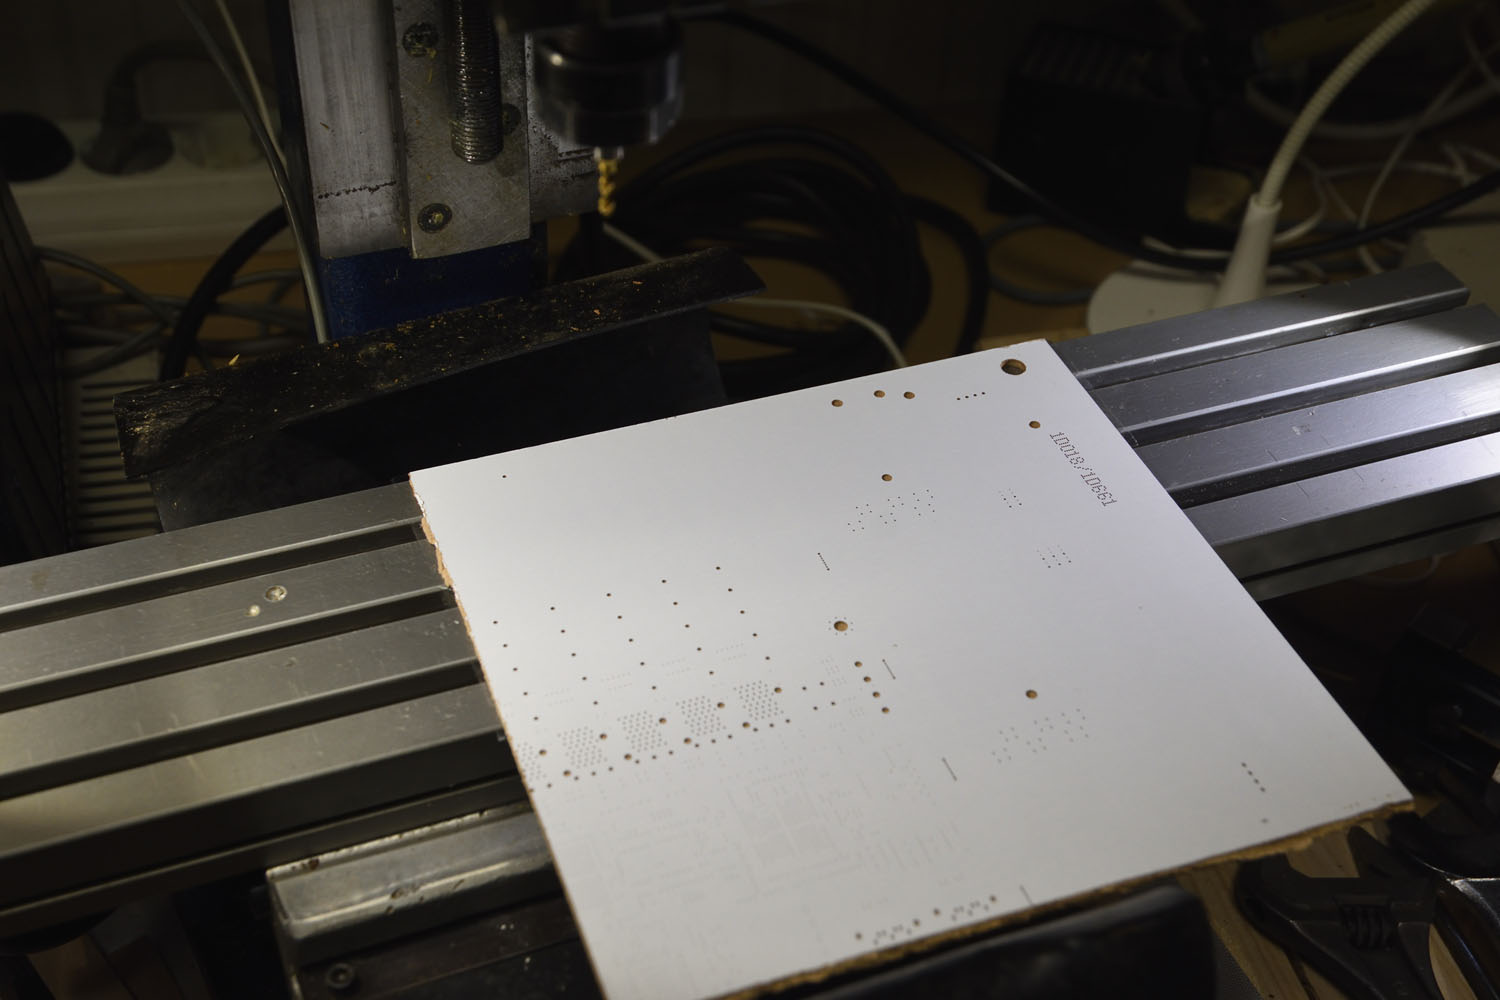
In the previous post, I wrote about using my CNC mill to depanelize PCBs. One issue  I had was that the boards were not cleanly separated from the panel since they moved away as soon as the mill broke through the tab connecting them to the panel, leaving a pointy feature.

I tried to improve this by using double sided tape to keep the boards in place:

Double sided tape on the CNC bed to keep the sacrificial board firmly in place.
The sacrificial (MDF?) board on top of the tape. The glossy surface will make it easier to remove the tape.
The PCB panel has been secured in place. There is double sided tape between it and the board. Two clamps aid in the workholding.
Milling in progress. Some boards still get loose, but some stay in place.
Separation of the upper three rows of boards complete.
The mill is not big enough to reach all boards in one setup and I tried to reuse the tape when separating the lower two rows. Due to the dust from the initial milling getting into the adhesive, this was not a great idea. Using new tape would have been better.
The sacrificial board after the panel and the top side tape have been removed. The board can be reused. The pattern created by the mill can be used to position the next panel. Even better would be to have guide holes in the PCB panel and run a mill program to create corresponding holes in the sacrificial board to aid in precise positioning of the panel.

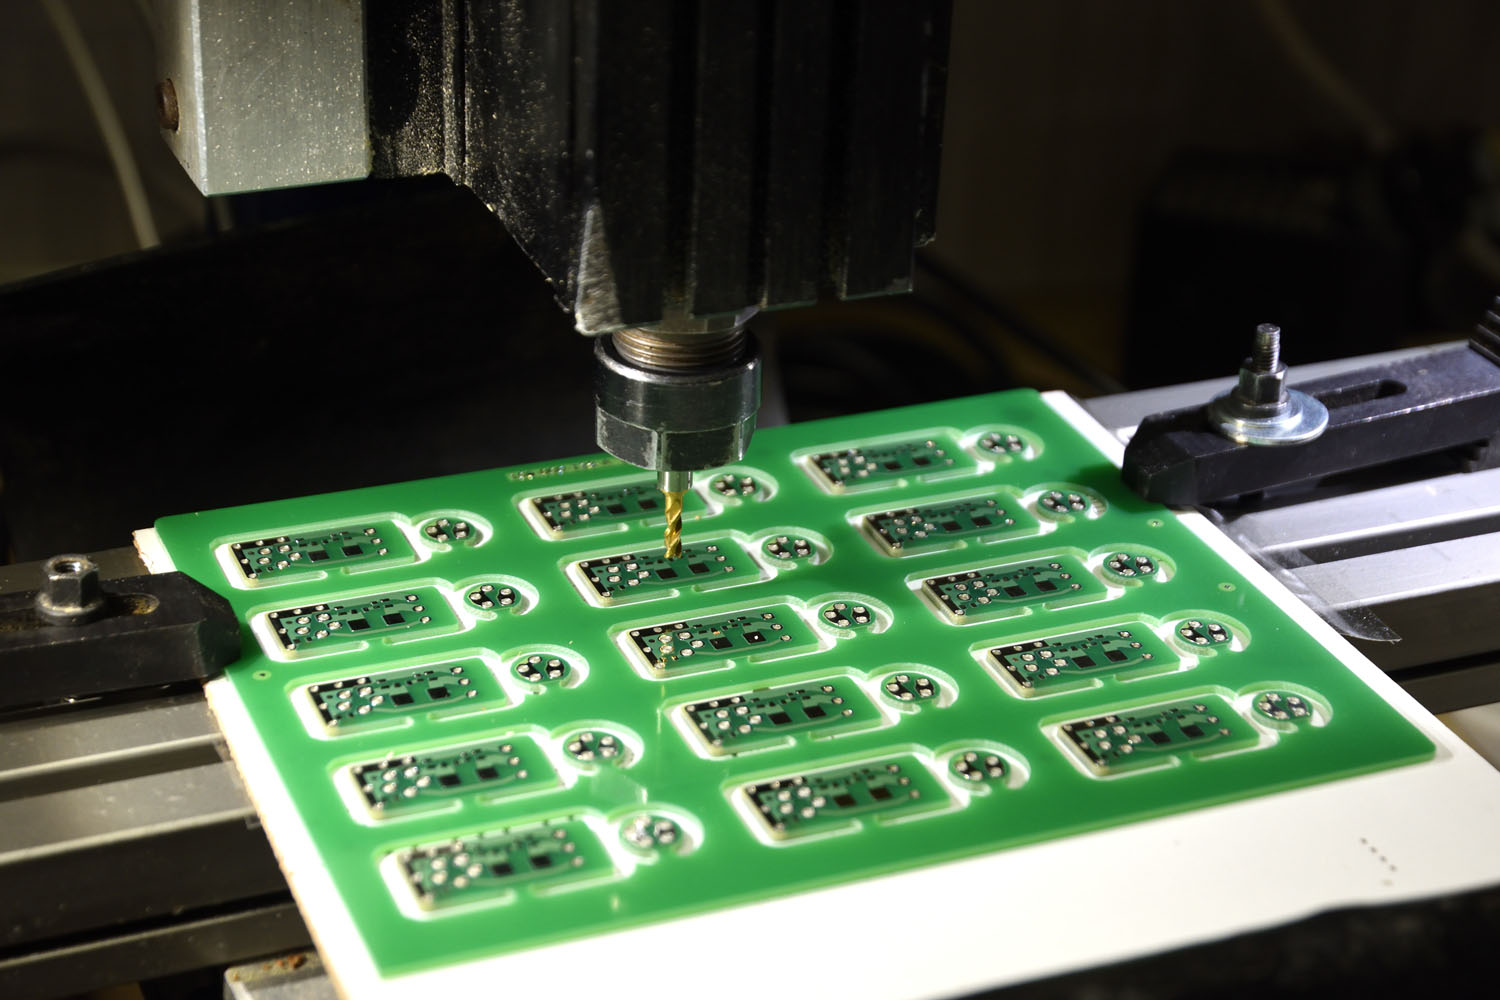
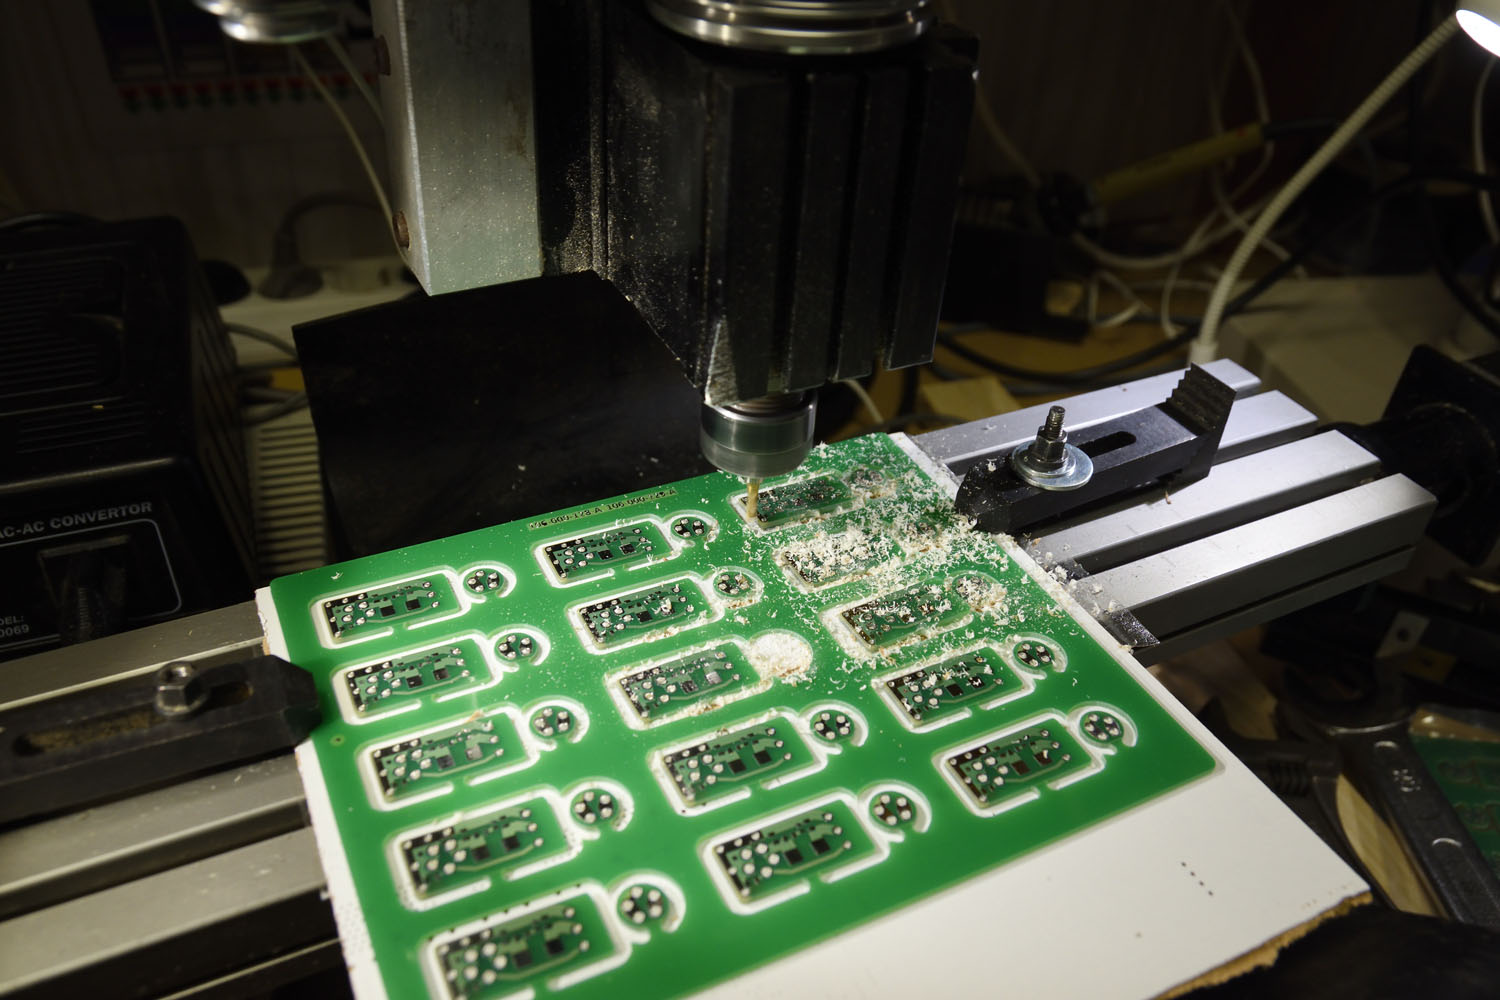
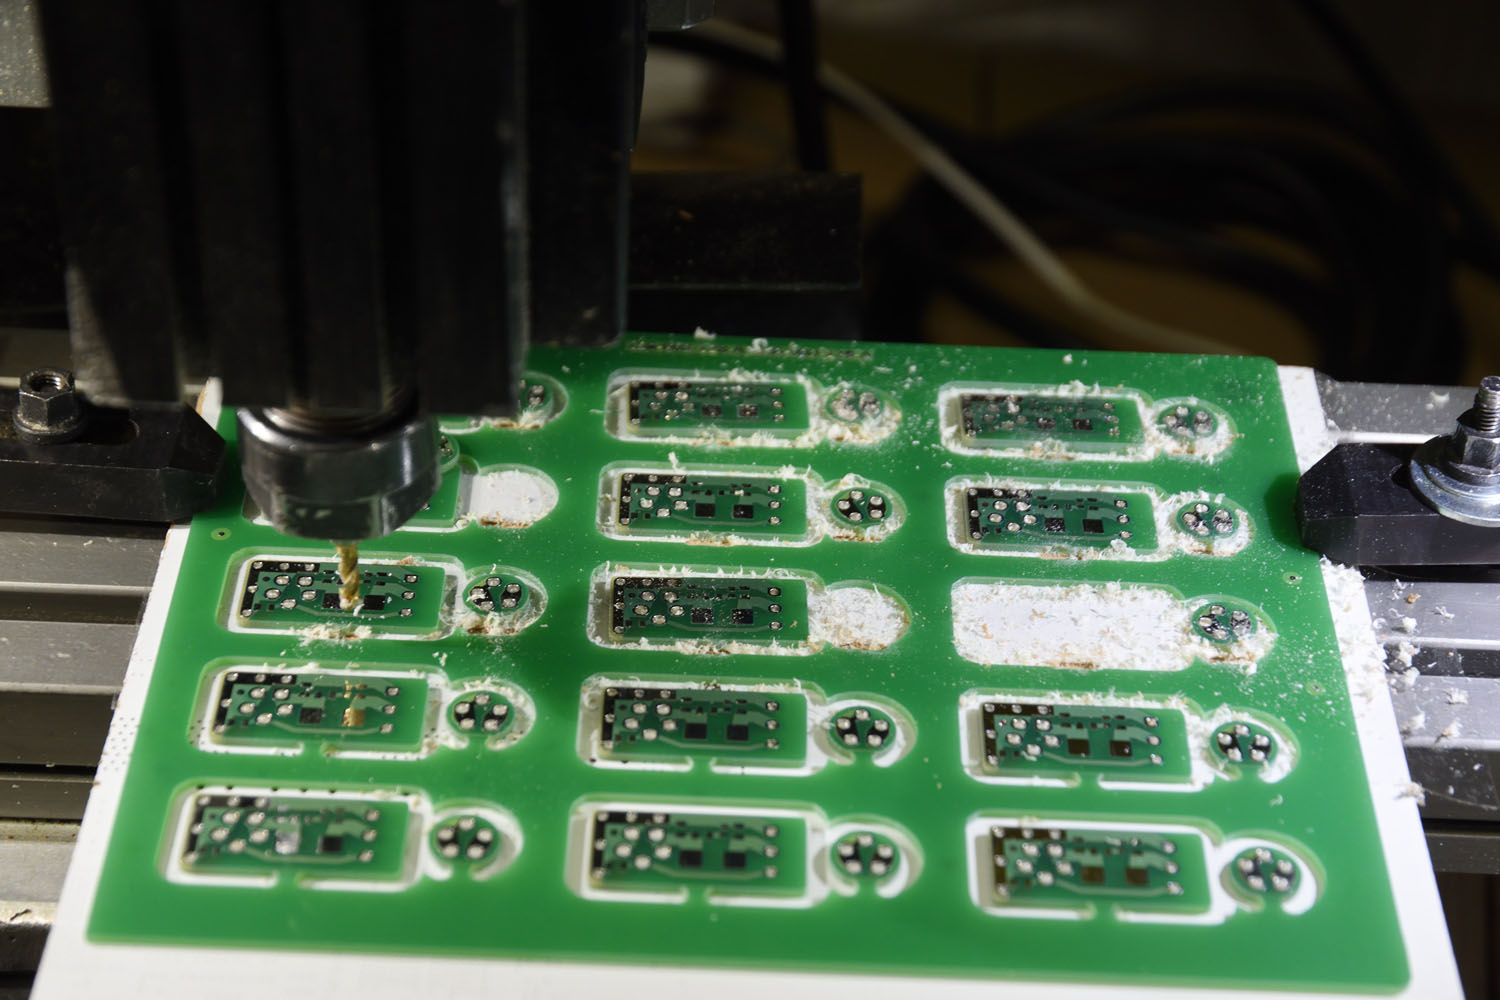
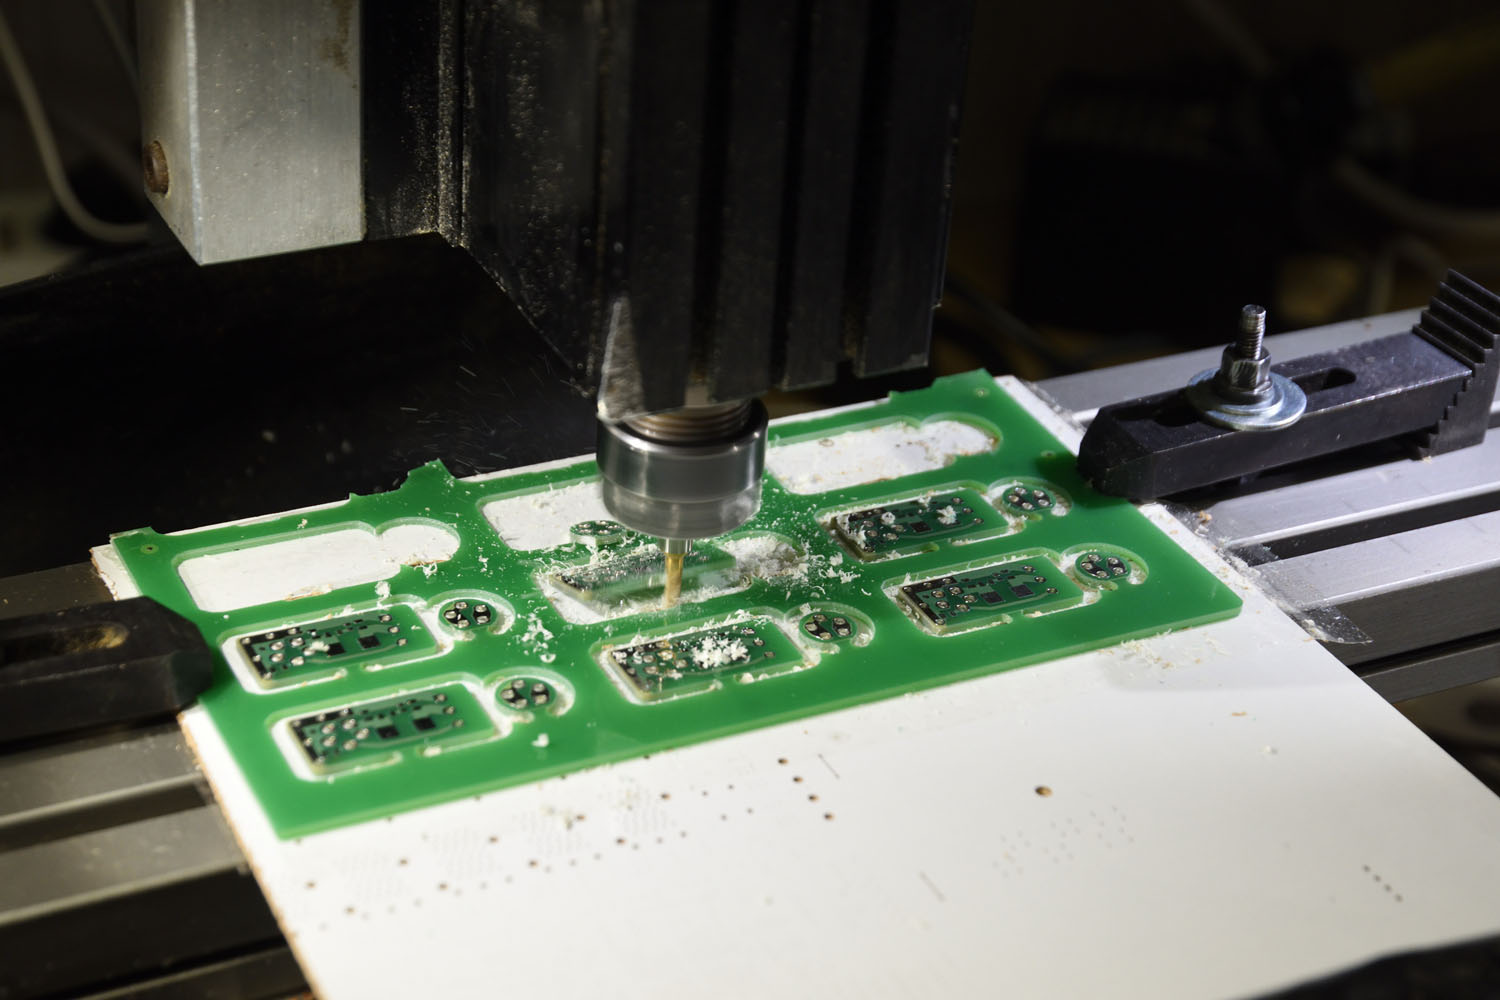
In summary, using double sided tape to aid in the workholding is a promising idea. With the small board in this panel it was however only semi-successful since the adhesive has very little area to attach to and the PCB surface is a bit uneven due to the trace pattern. On larger boards it will probably work better.